Authentication and Authorization
Introduction
Creating the User Model
Registering Users
Using Lodash
Hashing Passwords
Authenticating Users
Testing the Authentication
JSON Web Tokens
Generating Authentication Tokens
Storing Secrets in Environment Variables
Setting Response Headers
Encapsulating Logic in Mongoose Models
Authorization Middleware
Protecting Routes
Getting the Current User
Logging Out Users
Role-based Authorization
Testing the Authorization
Authentication and Authorization Recap
Handling and Logging Errors
Introduction
现在我们假设我们的应用没有发生什么错误,但是 too young too simple.现实生活中会有很多意外。
所以我们最好能处理这些意外,并向客户端发送一个反馈,并把错误记录在日志里。
比如mongodb宕机了1分钟,现在我们的app无法应对这种中断,也不会向客户端提供任何服务,甚至再恢复也不行
Handling Rejected Promises
1 | router.get("/", async (req, res) => { |
现在mongodb再宕机的时候,就看不到 unhandled promise rejection了
Express Error Middleware
但是,我们如果向修改记录日志的方式活着修改返回的信息,我们需要到处找try catch句块改,非常麻烦
我们希望把所有的逻辑都集中起来,这样就只需要修改一个地方即可。
还记得我们之前提到的中间件吗?现在我们就做一个发现异常的中间件
middleware文件夹中新建一个error.js,然后处理我们的逻辑
1 | module.exports = function (err, req, res, next) { |
index.js中我们引入这个中间键模块,然后在api之下写这个引用
1 | app.use(error); |
最后修改genre.js 当我们catch到错误的时候,我们把控制权交给下一个中间件,也就是上面所说的error.js去处理
1 | router.get("/", async (req, res,next) => { |
Removing Try Catch Blocks
我们对上面的代码仍然不太满意,因为我们每次都要catch。next 太麻烦了
新建一个 async中间件
1 | function asyncMiddleware(handler) { |
在genre中引入后
1 | router.get( |
Express Async Errors
我们来介绍一下一个模块,这样就不用每次写asyncMiddleWare了。这个模块会将路由句柄包裹在类似的代码当中npm i express-async-errors
index中,我们直接引入即可require(‘express-async-errors’)
genre.js中我们保持原样,也不需要引入const asyncMiddleware = require(“../middleware/async”); 了
但是这个模块仍然把我们的控制权自动转到了错误控制的模块
1 | router.get("/", async (req, res) => { |
Logging Errors
我们需要在某处记录日志。在react基础课程中,我们使用了一morgan来记录日志,这里我们是用Winston
npm i winston之后,我们引入
const winston = require(‘winston’)
这个winston是这个模块中默认的日志模块,我们可以自定义记录器。但这已经足够了
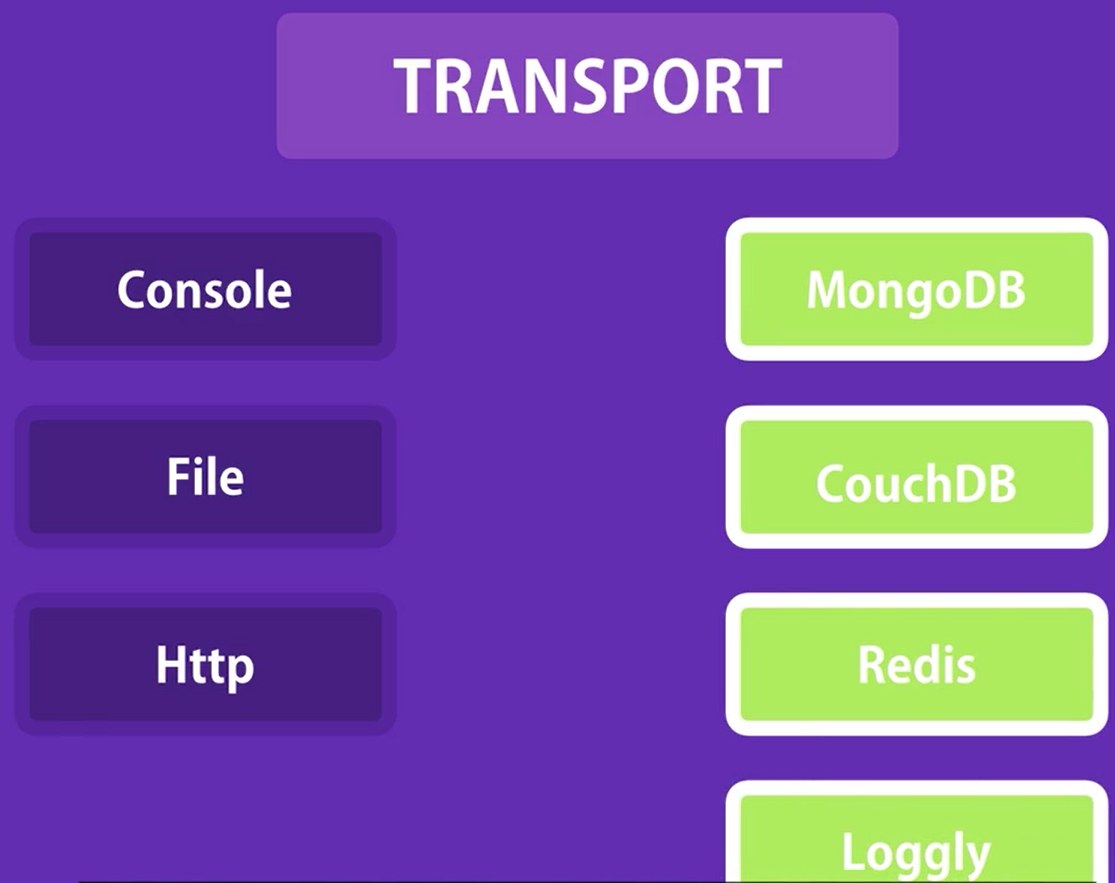
1 | const winston = require('winston'); |
Logging to MongoDB
安装winston-mongodb
1 | require('winston-mongodb'); |
我们还可以为存储到mongodb设置等级:
1 | winston.add(winston.transports.MongoDB,{ |